The cable crossover is a common exercise performed to isolate the chest muscles. Bodybuilders and casual lifters alike love the convenience and comprehensiveness of this chest-building exercise essential. However, folks who prefer their fitness from the comfort of home might not have access to a cable machine. Whatever the reason, you will sometimes need some great cable crossover alternatives to get great chest activation during your workout.
The best cable crossover alternatives include the machine pec fly, pec deck, dumbbell fly, incline dumbbell fly, decline dumbbell fly, alternating dumbbell fly, banded pec fly, dumbbell pullover, plate-loaded machine fly, as well as push-ups. These alternatives target the chest muscles similarly to the cable crossover. However, these alternatives do not require the cable machine.
How do you perform these amazing cable crossover alternatives? Let’s discuss further and find out!
Contents
How Do You Do a Cable Crossover without Cables?
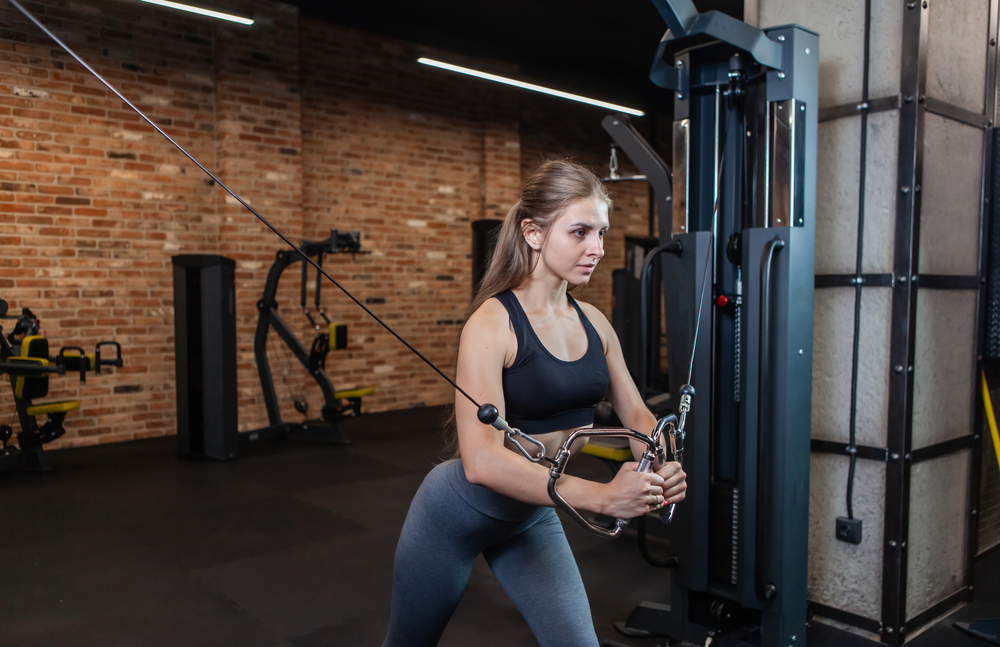
The cable crossover is one of the best chest exercises you can do in the gym. Unfortunately, it requires a dedicated machine to perform them with cables. Most gyms have a cable machine, but most folks aren’t keen on buying one for their home gym.
Because of this, you might be looking for a cable crossover substitute to perform from the comfort of your home. Luckily, there are many that require very little or no equipment whatsoever.
Our best recommendations for cable crossover alternatives without cables are the dumbbell fly and the banded fly. Dumbbell flyes only require a set of dumbbells and a bench or flat surface. The banded fly, on the other hand, relies on having a suitable anchor point, usually a door frame, and a good resistance band or two.
Can You Do Cable Crossovers with Dumbbells?
The dumbbell fly is one of the best cable crossover alternatives available. Not only can you perform standard flat flyes, but it is also possible to perform variations of the exercise. Incline flyes, decline flyes, and alternating flyes are all possibilities so long as you have a set of dumbbells and an adjustable bench.
They’re not identical, however. Cable crossovers use cables to provide dynamic resistance, which makes the exercise harder as you get farther from the anchor point. Dumbbells, on the other hand, are constant resistance. A 25-pound dumbbell weighs 25 pounds whether it’s in the starting position or peak of the movement.
For these reasons, they’re not identical exercises, but they will target your muscles in a very similar fashion. If you don’t have access to a cable machine, the dumbbell fly is an excellent substitute.
Is Cable Crossover or Pec Deck Better?
Because we are all different, what works for one lifter might not be best for another. Some folks might swear by the cable crossover whereas others prefer the pec deck every time.
Studies show, however, that the best exercises for the pectorals in order, are as follows:
- Barbell bench press
- Chest fly
- Cable crossover
The pec deck is a more isolated version of the machine chest fly. Because of this, the pec deck could be considered superior to the cable crossover.
On the other hand, nearly every commercial gym has a cable machine, and very few have a pec deck. The pec deck machine is a much rarer find. Unless you plan to purchase one for your garage or basement, you’re less likely to encounter one.
In addition, the cable crossover provides dynamic resistance, whereas the pec deck is constant. Even if you prefer one over the other, it’s prudent to perform both interchangeably to alter the type of resistance and activation.
Cable Crossover Pros and Cons
The cable crossover offers many benefits, but it’s not without drawbacks.
Pros of the cable crossover include:
- Great activation of the pectorals
- Top 5 chest-building exercises
- Targets shoulders, arms, core, and glutes too
- Helps improve shoulder mobility
Once you learn the proper form on the cable crossover, it’s an incredible chest-building tool. It also targets other areas of the upper body and some parts of your lower body too. It’s overall a fantastic exercise to perform regularly.
Cons of the cable crossover include:
- Requires special equipment
- There’s a learning curve
- Increased risk of injury from free range of motion
First, we’ll address the elephant in the room or, in the more likely case, the elephant that’s not in the room. A cable machine is massive. It’s a non-issue for most commercial gyms because they often have at least one of these bad boys. In terms of home gyms, however, you’ll eat up the whole floor plan with this one machine.
Now let’s assume you have a cable machine, but you’ve never used one before. They’re confusing, to say the least. A beginner might wonder exactly where to set the handles, where to stand, how to stand, and how it should feel.
We recommend consulting a qualified trainer the first few times to make sure your form looks right. This is also because the cables offer you a free range of motion, unlike a machine which keeps you on a fixed path.
Having free range of motion is great for recruiting stabilizing muscles, but it could cause you to move unnaturally and strain something in the process. Exercise caution when performing cable crossovers.
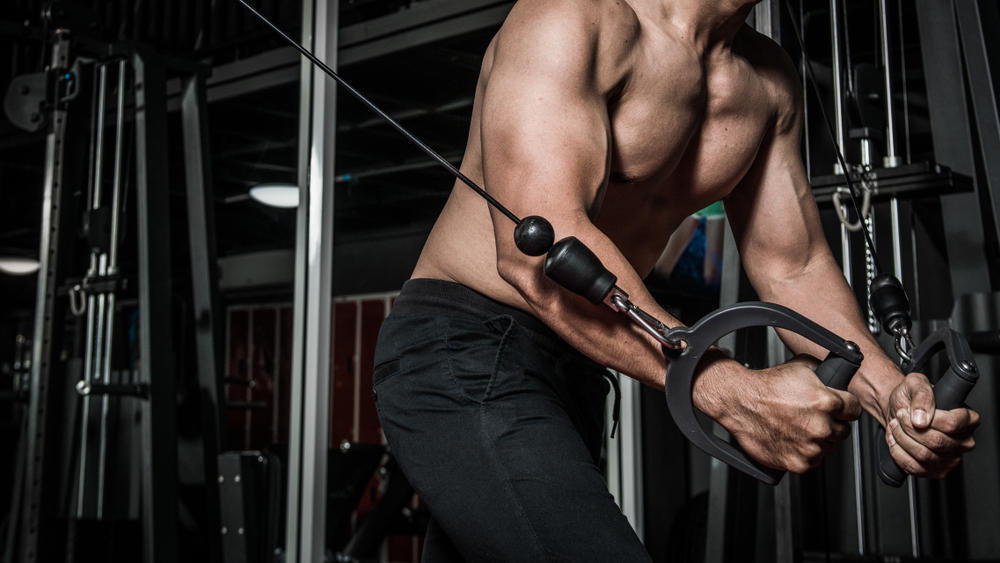
What Muscles Does a Cable Crossover Work?
The cable crossover is one of the most effective exercises for targeting the pectoralis major. Crossovers hit the sternal heads at the bottom of muscle, blasting the muscle fibers for excellent results. Compared to other exercises that hit this muscle group, cable crossovers rank third behind the bench press and flyes respectively.
It’s not only your chest that gets targeted, however. Cable crossovers also recruit muscles from your shoulders, back, and arms to tackle the resistance. Bringing in these muscles makes the cable crossover an overall upper body builder that should be added to every lifter’s weekly loadout.
Cable crossovers target the following muscles:
- Pectoralis major
- Pectoralis minor
- Sternal pecs
- Anterior deltoids
- Forearms
- Rectus abdominis
- Obliques
- Erector spinae
Exactly how much activation each muscle receives depends on the angle the exercise is performed. Depending on where you set the handles of the cable machine, you are able to perform standard, high, or low cable crossover.
The high version will hit the lower pecs, while the low version targets the upper pecs. With this in mind, aesthetically minded individuals and bodybuilders are able to target the specific region to sculpt and shape as needed.
Cable Crossover Alternatives
A great cable crossover alternative will target the same muscles in a more accessible way. The cable crossover involves using a gigantic machine that most home gyms can’t accommodate. Some of our picks use similar machines, while others use minimal equipment to get the same results.
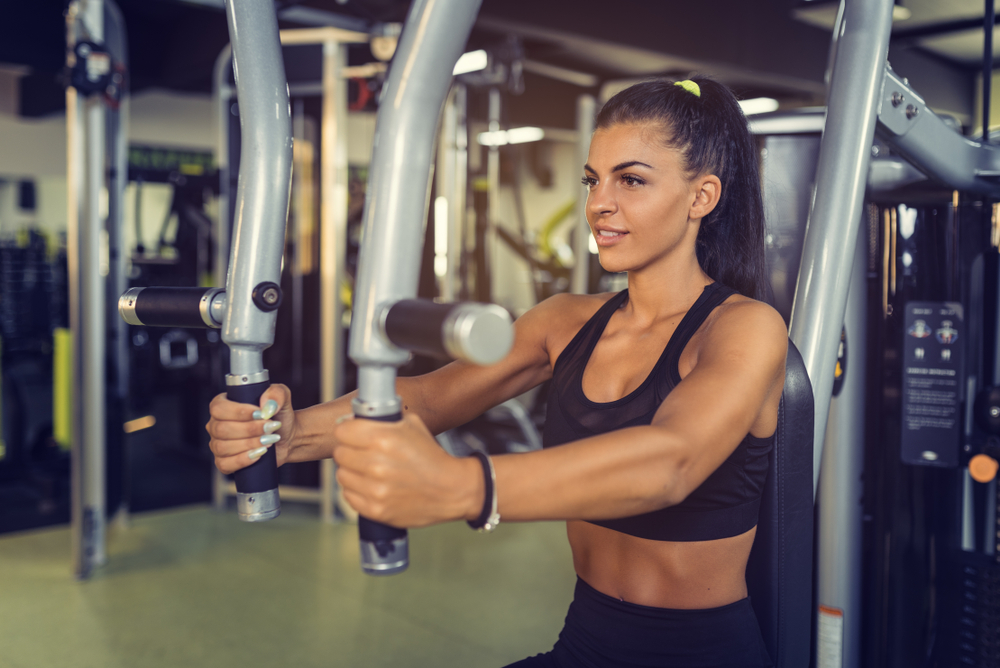
1. Machine Pec Fly
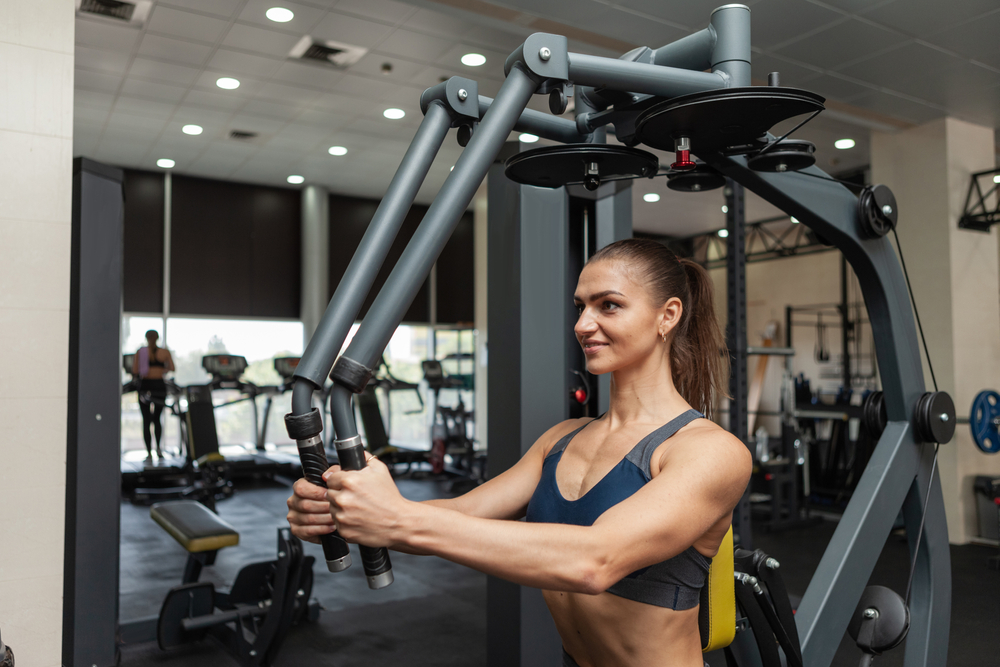
Some folks find the cable crossover too hard. It’s true that the cable machine applies resistance in a different way than free weights and standard machines do. That type of change could be a lot to handle.
That’s what makes the machine pec fly a great alternative. The machine only allows for a very fixed path. This makes it easier to maintain a fluid and safe range of motion.
Here is how to perform the machine pec fly with good form:
- Adjust the seat height of the machine until the handles reach mid to lower chest level.
- Adjust the position of the arm handles as far back as your shoulder mobility will allow.
- Sit down and grab the handles, maintaining a slight bend in the elbow. Your hands and elbows should be at the same level throughout the motion.
- Take a deep breath and exhale as you push the handles together. Hold the position and squeeze the pecs at the end of the motion.
- Slowly return to the starting position.
- Repeat as needed.
As you begin moving more and more weight, you may inadvertently begin pushing hard with your feet into the ground and rising from your seat. For the best results, be sure to stay seated throughout the exercise so your chest and arms are doing the work.
2. Pec Deck
Casual gym goers might not see a difference between the pec deck and machine fly. At a glance, the movements are fairly similar, but there is one key distinction. Whereas the machine fly requires you to grip handles, the pec deck uses elbow pads you push against to move the weight.
Because of this one design difference, you’re taking the biceps and triceps out of the equation and focusing solely on the pectorals. Here’s how to perform a set of pec decks:
- Adjust the seat height of the machine until the elbow pads reach mid to lower chest level.
- Adjust the position of the elbow pads as far back as your shoulder mobility will allow.
- Sit down and push your elbows and forearms against the elbow pads.
- Take a deep breath and exhale as you push the handles together. Hold the position and squeeze the pecs at the end of the motion.
- Slowly return to the starting position.
- Repeat as needed.
You could use the pec deck to bulk up if you use progressive overloading. However, the most common use of the pec deck is for shaping the pectoral region. Whether you need to shape the area for your next bodybuilding competition or you just want to look good on the beach, don’t count out the pec deck!
3. Dumbbell Fly
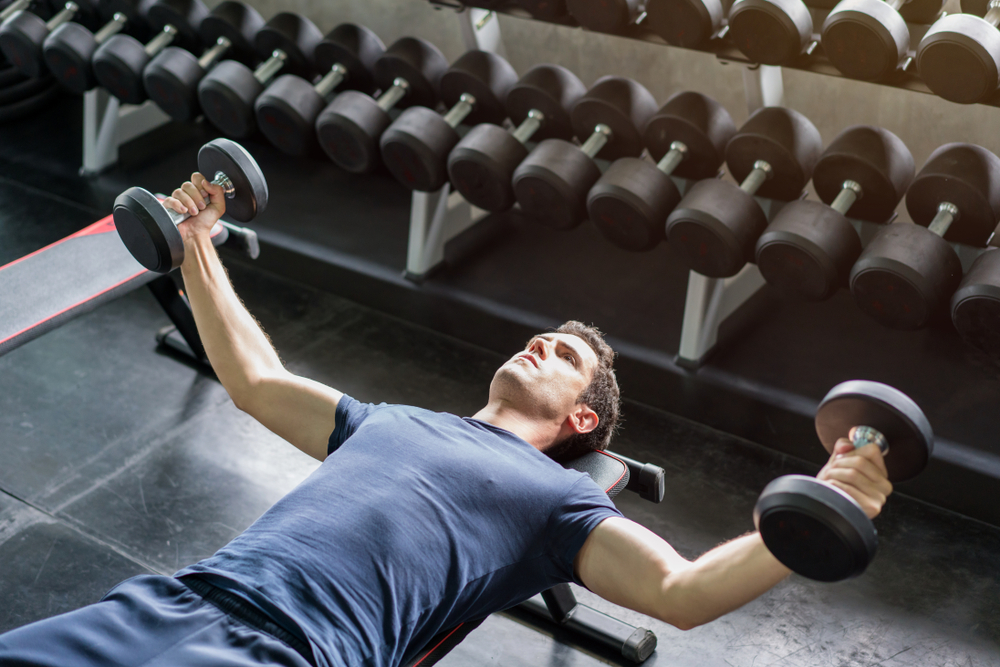
No machines? No problem.
You could still perform a set of flyes with any standard set of dumbbells and a flat surface to lay on. On the one hand, dumbbell flyes are much more versatile than machine flyes since you need much less equipment. On the other hand, dumbbell flyes will be more challenging since you must recruit stabilizing muscles to maintain a strict range of motion.
- Grab a flat bench or find a flat, horizontal surface to lie down.
- Holding a dumbbell in each hand, sit on the edge of the bench and lie back. Raise your arms, extending them fully above you. Slightly bend at the elbow and mildly arch your back.
- Take a deep breath as you slowly open your arms, allowing your pec muscles to stretch as your arms lower.
- Exhale as you push the dumbbells upward and bring your hands together again. Squeeze your pecs at the peak of the motion.
- Repeat as needed.
If you’re accustomed to the cable crossover or machine fly, go light on your first sets of dumbbell flyes. Whereas the machine stabilizes the movement for you, dumbbells provide no such luxury. Therefore, it’s going to feel more challenging.
4. Incline Dumbbell Fly
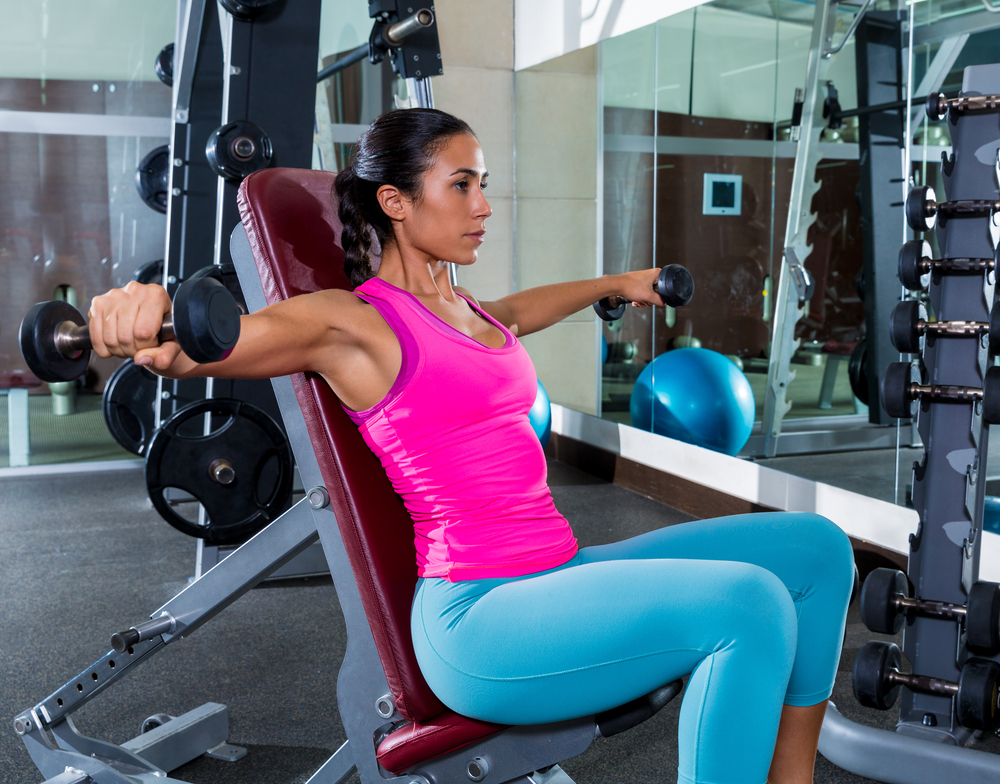
The incline dumbbell fly is nearly identical to the standard flat version, except it is performed at a 15-to-30-degree angle. You’ll still get great activation of the pectorals, but you’ll also hit the front deltoids to a greater degree too.
Here’s how to perform the incline dumbbell fly properly:
- Adjust a bench so it is at a 15-to-30-degree incline angle.
- Sit down on the bench, holding a dumbbell in each hand, and push your back into the pad. Hold your arms straight out with the palms facing each other. Once in position, add a mild arch to your back so that mostly your upper back remains in contact with the backrest.
- Take a deep breath as you slowly open your arms. Continue until your arms are nearly horizontal.
- Push the dumbbells back toward the starting position, exhaling as you go. Squeeze your pecs at the peak of the motion.
- Repeat as needed.
Pay close attention to your form on these. If you find yourself overextending your back at the bottom of the movement, you’re placing undue stress on your biceps and shoulder joint. This increases your risk of injury.Focus on keeping the dumbbells level or slightly above your shoulder height. Don’t allow them to drop lower, even as fatigue sets in.
5. Decline Dumbbell Fly
If you’re gutsy enough to lie at a decline, you’ll mimic the movements of the cable crossover most similarly. By setting a bench to a 20-to-40-degree decline, you’re now raising the weights in such a way to hit the pecs almost identically.
Here’s how to perform a set of decline dumbbell flyes with good form:
- Adjust a bench so it is at a 20-to-40-degree decline angle.
- Lie back on the bench with a dumbbell in each hand. Hook your legs beneath the leg holders if the bench you’re using features one. Add a slight arch to your back and raise your arms overhead.
- Take a deep breath as you slowly open your arms. Continue until your arms are nearly horizontal.
- Push the dumbbells back toward the starting position, exhaling as you go. Squeeze your pecs at the peak of the motion.
- Repeat as needed.
The arch of your back should be very slight. Try keeping your shoulder blades pinched start to finish throughout the movement.
6. Alternating Dumbbell Fly
Want to put a spin on the standard flat dumbbell fly? Try alternating your arms for an alternative that isolates each side of your chest and provides great activation.
Here’s how to perform the alternating dumbbell fly with good form:
- Grab a flat bench or find a flat, horizontal surface to lie down.
- Holding a dumbbell in each hand, sit on the edge of the bench and lie back. Raise your arms, extending them fully above you. Slightly bend at the elbow and mildly arch your back.
- Take a deep breath as you slowly lower one arm.
- Exhale as you push the dumbbell back up. Squeeze your pecs at the peak of the motion.
- Repeat for your other arm. Complete for number of desired repetitions.
If you really want to make things interesting, take your non-working arm and hold it at the bottom of the movement instead of the top. This holds your other arm under tension while it’s not performing a rep, encouraging hypertrophy.
It will be uncomfortable though. Like very uncomfortable, but you can do it!
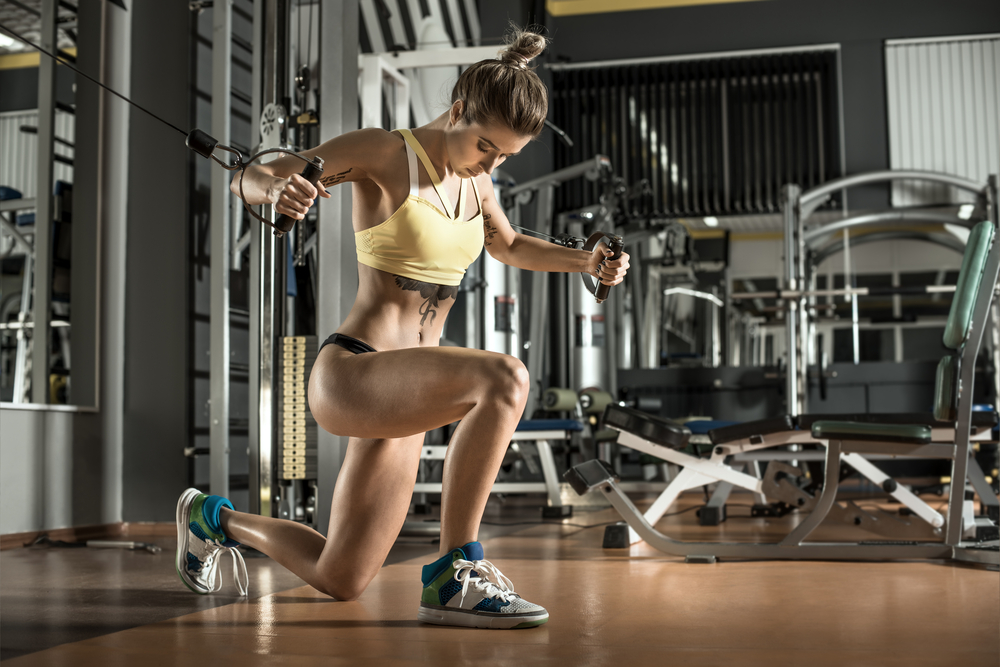
7. Banded Pec Fly
Most folks don’t have a cable machine just sitting around in their home. Luckily, you don’t need one to get the same benefits as the cable crossover. A simple resistance band offers the same movement, the same resistance type, and it does it at a fraction of the cost.
Here’s how to perform the banded pec fly with good form:
- Anchor your resistance band to something sturdy. If you’re at the gym, you may use a power rack or pull-up bar. If you’re at home, you may use the space between a door and its frame.
- Stand facing away from your anchor with an end of the resistance band in each hand. Step forward and stagger your feet for balance. Let the band pull your arms behind you as you move forward.
- Stretch your arms out to the side horizontally and extend them fully. Pinch back your shoulder blades. This is your starting position.
- Pull the handles of the resistance band forward and meet your hands in the middle. Squeeze your pecs throughout the motion, especially at its peak.
- Slowly return to the starting position.
- Repeat as needed.
A standard cable crossover lets you hit your pecs at an angle. You may set the cablers to be directly behind you at approximately mid-chest level, overhead, or down low. Using a resistance band gives you that same flexibility. Simply adjust the height of your anchor point to target your upper, lower, or middle pecs respectively.
8. Dumbbell Pullover
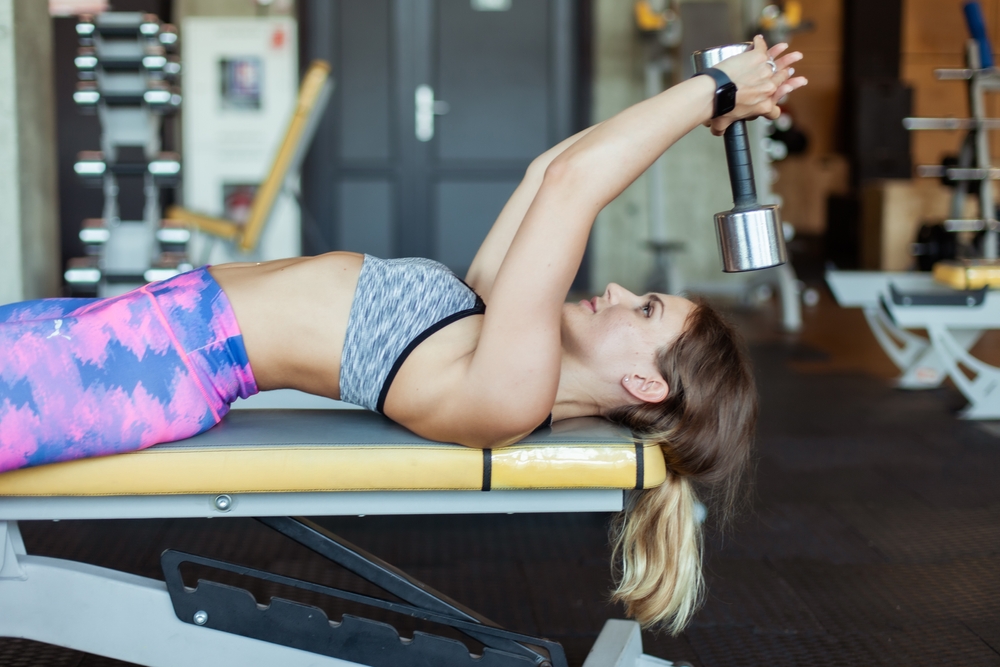
Got a dumbbell? That’s about all you need to get in a set of dumbbell pullovers, although a bench helps too. The dumbbell pullover hits your pecs, but also targets the lats and triceps as well. It’s less isolating than some of our other picks, but it’s great to target multiple muscles if you’re short on time.
Here’s how to do the dumbbell pullover properly:
- Grab a bench or something sturdy to lay on. Position yourself perpendicular to it.
- Lie your upper back on the bench with your feet on the floor. Your hamstrings should be parallel to the ground and your shins should be vertical.
- Hold the end of a heavy dumbbell with both hands and hold it over your chest with your elbows bent slightly. This is your starting position.
- Take a deep breath as you lower the dumbbell by moving your arms back above your head. Squeeze your pecs at the end of the movement.
- Exhale as you slowly return to the starting position.
- Repeat as needed.
The dumbbell pullover bears a striking resemblance to the “skullcrusher” or tricep extension. However, the lying position changes the angle in the pullover and you do not hinge at the elbow. Because of this, we get more activation from our chest muscles. You will still feel a dumbbell pullover in your arms and lat muscles though.
9. Plate-Loaded Machine Fly
The plate-loaded machine fly is similar to the standard machine fly. The key difference is your ability to move the handles independently of one another. That means, you guessed it, you can perform a seated variation of the alternating fly.
Here’s how to do a set of plate-loaded machine flyes with proper form:
- Set the desired weight on each side of the machine. Set the machine handles as far back as your shoulder mobility allows.
- Adjust the seat height so that the handles are around mid to lower pec level.
- Sit down, keeping your back flat against the pad, and pinch your shoulder blades. Grab the handles while maintaining a slight bend in the elbow. This is your starting position.
- Take a deep breath in and exhale as you bring the handles together.
- Inhale as you slowly return to the starting position.
- Repeat as needed.
Because the handles move independently, you may perform the exercise alternating arms instead of doing both simultaneously. In addition, you could perform the exercise unilaterally to correct muscle imbalances.
Of course, the plate-loaded machine fly requires a specific machine your commercial gym might not have. Nonetheless, it’s a great one if your gym happens to have it.
10. Push-up
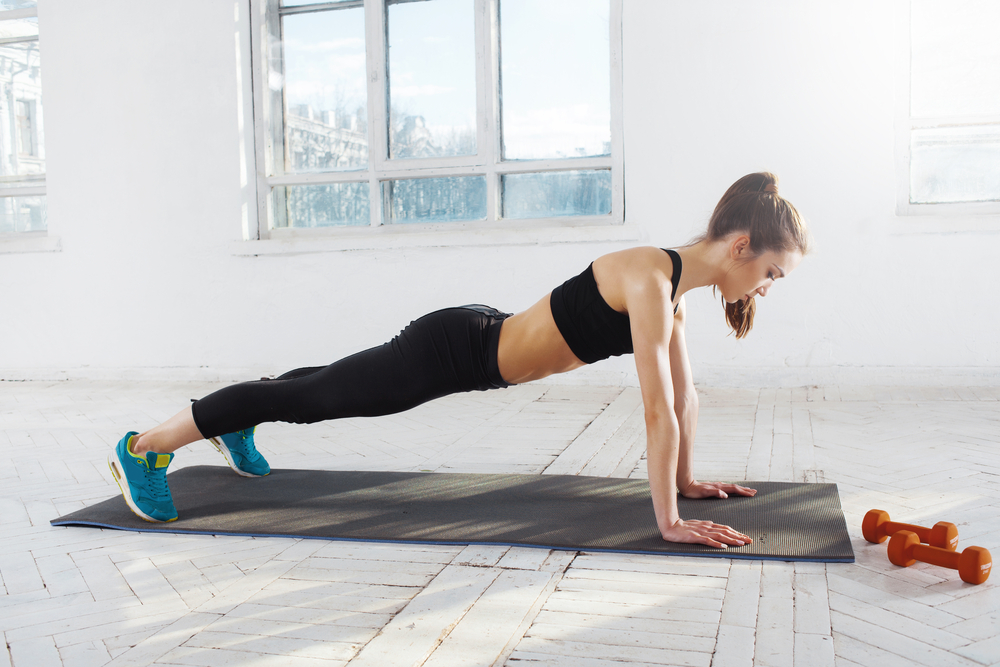
While your tried-and-true push-up doesn’t target the chest exactly the same way the cable crossover does, it more than makes up for it in versatility. As long as you have a floor, you will be able to get in a set of push-ups.
Here’s a refresher on how to do push-ups with good form:
- Lie on your stomach with your toes and palms touching the floor. Your body should be straight and your neck neutral with your eyes facing the floor.
- Push up from the floor, keeping the body straight. Your shoulders should be stacked directly above your hands. Your core should be tight. Your neck should remain neutral with eyes fixed forward. This is your starting position.
- Take a deep breath as you lower your body to the floor. Lightly touch your chest to the floor but do not lose tension. Keep your elbows pulled into the sides. Do not allow them to flare.
- From the bottom of the movement, exhale as you push away from the floor, holding tension on your arms, chest, core, and glutes.
- Repeat as needed.
Another great thing about push-ups is that they’re easy to vary. For example, you may elevate your feet and perform the push-ups at an angle for increased chest activation. Simply grab a chair and you’ve got an instant variation to hit your chest in a new way.
With a little imagination, you can vary your push-ups endlessly and alter how your muscles are activated while you’re at it. As they say, “Variety is the spice of life” and, with push-ups, your workout is going to be extra spicy!